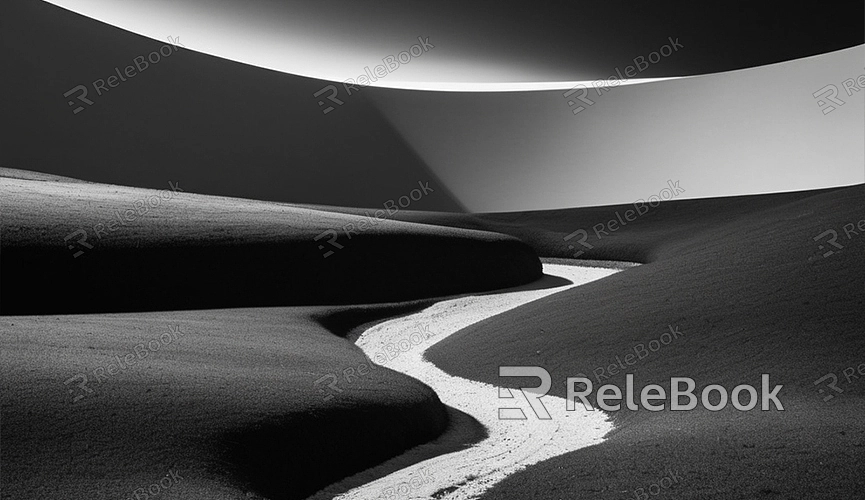
How to Render in Black and White Blender
Blender is a powerful 3D modeling and rendering tool, beloved by many creators, including animators, game developers, and visual artists. It offers a wide range of features to meet various creative needs. Among these, black and white rendering is often used to create a unique artistic style or to emphasize light and shadow contrast in a project. So, how do you achieve black and white rendering in Blender? This article will guide you through the process in detail.
Setting Up the Scene and Materials
Before rendering, you need to set up your scene and materials. Whether you're working on a complex 3D model or a simple geometric shape, proper scene preparation is essential. In Blender, the lighting, material, and camera angle settings will directly impact the final render.

For material settings, if your model already has color or texture applied, don't worry—these settings will automatically be converted to grayscale during black and white rendering. What you need to ensure is that the reflection, roughness, and other material details are set correctly so that the grayscale render displays rich levels of depth.
Switching to Black and White Rendering Mode
Blender doesn't have a direct "black and white render" button, but you can easily achieve the effect with some simple adjustments. There are several ways to do this, with the most common method being to adjust the “Color Ramp” node in the material settings.
First, enter the Shader Editor, add a “Color Ramp” node in the node editor, and connect it to the “Base Color” input. You can control the contrast of the black and white effect by adjusting the sliders on the “Color Ramp” node. If you want higher contrast, drag the black slider to the right and the white slider to the left, which will make the entire scene more defined.
If you want to render the entire scene in black and white, rather than just a single object, you can use the “Color Management” option in the “Render Properties” panel. Here, set the “View Transform” to “Standard” and the “Look” option to “None.” Then, adjust the “Exposure” and “Gamma” values to achieve your desired black and white effect.

Using Compositor Nodes for Black and White Rendering
Another method is to use Blender's Compositor nodes, which offer more flexibility, especially for fine-tuning colors during post-processing.
In the “Compositing” workspace, enable the “Use Nodes” option, then add an “RGB to BW” node and connect it to the render output node. This node will convert the color image to black and white. You can further refine the contrast using a “Brightness/Contrast” node to achieve the desired effect.
The advantage of this method is that you can incorporate black and white rendering as part of your post-processing, allowing you to retain the original color render while quickly obtaining a black and white version. Additionally, you can add other effects in the compositor, such as “Vignette” or “Blur,” to enhance the artistic atmosphere of your black and white image.
Rendering Settings and Output
After completing the above settings, the next step is to adjust the rendering settings. Go to the “Render Properties” panel and choose the appropriate rendering engine for your needs, such as Eevee or Cycles. Typically, Cycles will provide higher rendering quality, especially when dealing with complex lighting.
In the rendering settings, make sure the resolution and sample count meet your requirements. The higher the sample count, the better the rendering effect, but it will also increase the rendering time. Once rendering is complete, you can save the image as JPEG, PNG, or other formats. If it's an animation, you can choose a video format for output.
Adding Additional 3D Resources
During the production process, you may find that your scene needs more details to enhance the overall effect. High-quality 3D models and textures can save you a lot of time. If you need a large number of high-quality 3D textures and HDRI resources when creating models and virtual scenes, you can download them for free from [Relebook](https://textures.relebook.com/). If you need exquisite 3D models, you can download them from [Relebook](https://3dmodels.relebook.com/), which offers a vast array of premium 3D resources.
Rendering in black and white in Blender is not complicated; with just a few simple settings and adjustments, you can achieve the desired effect. Whether you’re using the “Color Ramp” node in the Shader Editor or the compositor nodes for post-processing, Blender provides powerful tools to help you create this effect. By skillfully applying these techniques, you can add more artistic expression to your work. Additionally, using high-quality 3D resources can greatly enhance the visual impact of your creations. I hope this article provides useful guidance for rendering in black and white in Blender, helping you create more outstanding works.

